Your vehicle’s alternator plays a vital role in keeping the battery charged and the electrical system running smoothly. A failing alternator can lead to dim lights, dead batteries, or a stalled vehicle. Fortunately, with a few essential tools and a little know-how, you can test your alternator at home to determine its functionality.
What You’ll Need:
- Multimeter (Digital Volt Ohm Meter)
- Safety gloves
- Safety goggles
- A quiet environment (to hear any unusual alternator noises)
Step-by-Step Guide:
- Safety Precautions:
- Ensure the car is on a flat surface, and the parking brake is engaged.
- Always wear safety goggles and gloves to protect yourself.
- Ensure the car’s ignition is turned off.
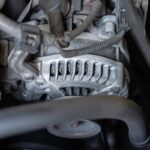
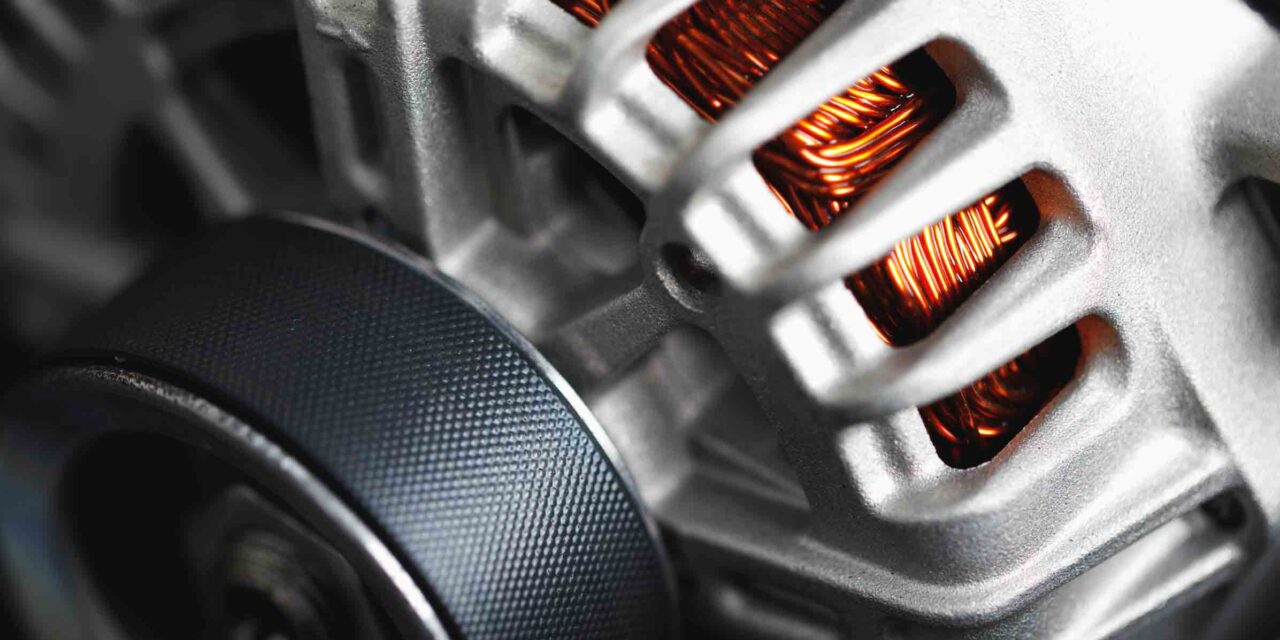
- Visual Inspection:
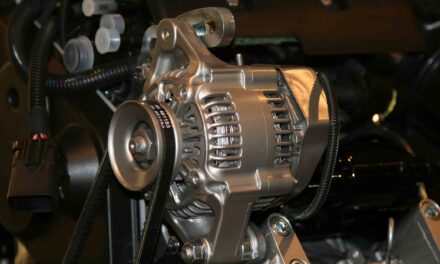
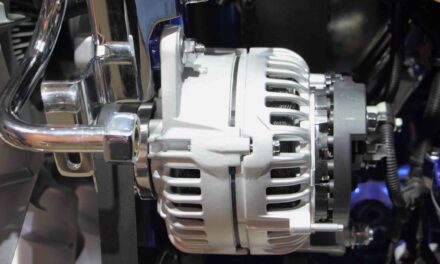
- Open the vehicle hood and locate the alternator.
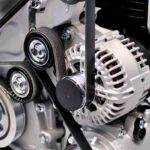
- Check for any physical damages, loose belts, or disconnected wires.
- Listen for unusual sounds like grinding or squealing, indicating bearing problems or a failing pulley.
- Voltage Test with Engine Off:
- Set the multimeter to DC voltage.
- Connect the multimeter’s positive (red) probe to the battery’s positive terminal and the negative (black) probe to the battery’s negative terminal.
- A healthy battery should read between 12.4 to 12.6 volts with the engine off.
- Voltage Test with Engine On:
- Start the vehicle.
- Again, measure the voltage at the battery terminals.
- A functioning alternator should produce a reading typically between 13.8 to 14.2 volts. The reading below 13 or above 15 volts may indicate an alternator or regulator issue.
- Load Test:
- With the engine running, turn on electrical components like headlights, the radio, and the air conditioner.
- The voltage reading should not drop below 13 volts. If it does, the alternator might be unable to handle the vehicle’s electrical load.
- Check for AC Voltage:
- Switch the multimeter to the AC voltage setting.
- A healthy alternator should produce no AC voltage (close to 0 volts). Any AC voltage indicates damaged diodes requiring alternator replacement or repair.
By conducting these tests, you can clearly indicate your alternator’s health. If you find any issues, consult a professional mechanic or consider a DIY alternator replacement if you’re comfortable with the process.
Now retrieving an image set.
PHILTOP Alternator for Jeep 2001-2006 Wrangler 4.0...
$79.99 (as of June 24, 2026 11:11 GMT +00:00 - More infoProduct prices and availability are accurate as of the date/time indicated and are subject to change. Any price and availability information displayed on [relevant Amazon Site(s), as applicable] at the time of purchase will apply to the purchase of this product.)
Now retrieving an image set.
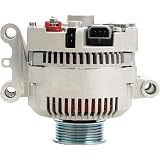
New Chrome 1 Wire Self Exciting Alternator High Ou...
$89.99 (as of June 24, 2026 11:11 GMT +00:00 - More infoProduct prices and availability are accurate as of the date/time indicated and are subject to change. Any price and availability information displayed on [relevant Amazon Site(s), as applicable] at the time of purchase will apply to the purchase of this product.)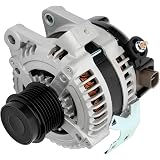
Now retrieving an image set.
SCITOO Car Alternator 2.4L Fits for Scion xB 2008-...
$96.47 (as of June 24, 2026 11:11 GMT +00:00 - More infoProduct prices and availability are accurate as of the date/time indicated and are subject to change. Any price and availability information displayed on [relevant Amazon Site(s), as applicable] at the time of purchase will apply to the purchase of this product.)
Now retrieving an image set.