Changing an alternator doesn’t have to be a daunting task. With the right tools and a bit of patience, our DIY Alternator Replacement Guide can help you navigate the process with ease. If you’re a DIYer keen on trying this, here’s a comprehensive guide just for you.
Table of Contents
- Preparation: What You’ll Need
- Safety First
- Disconnecting the Old Alternator
- Installing the New Alternator
- Testing Your Handiwork
- Final Thoughts
- Disclaimer
Preparation: What You’ll Need
- New Alternator
- Basic toolset (wrenches, ratchet set)
- Gloves
- Safety goggles
- Car manual
Safety First
- Battery Disconnection: Before anything, disconnect your car’s battery. This ensures you won’t accidentally short any electrical components.
- Wear Protection: Use gloves and safety goggles to shield yourself from potential hazards.
Disconnecting the Old Alternator
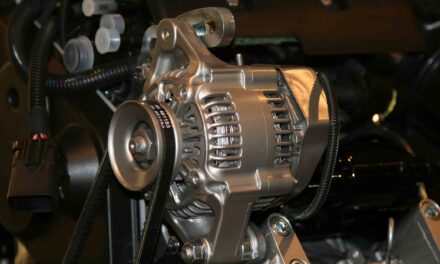
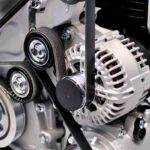
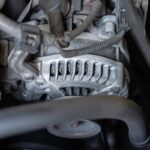
- Locate the Alternator: Refer to your car manual for its exact location.
- Loosen the Tensioner: This relieves tension on the serpentine or drive belt. Once slackened, slip the belt off the alternator pulley.
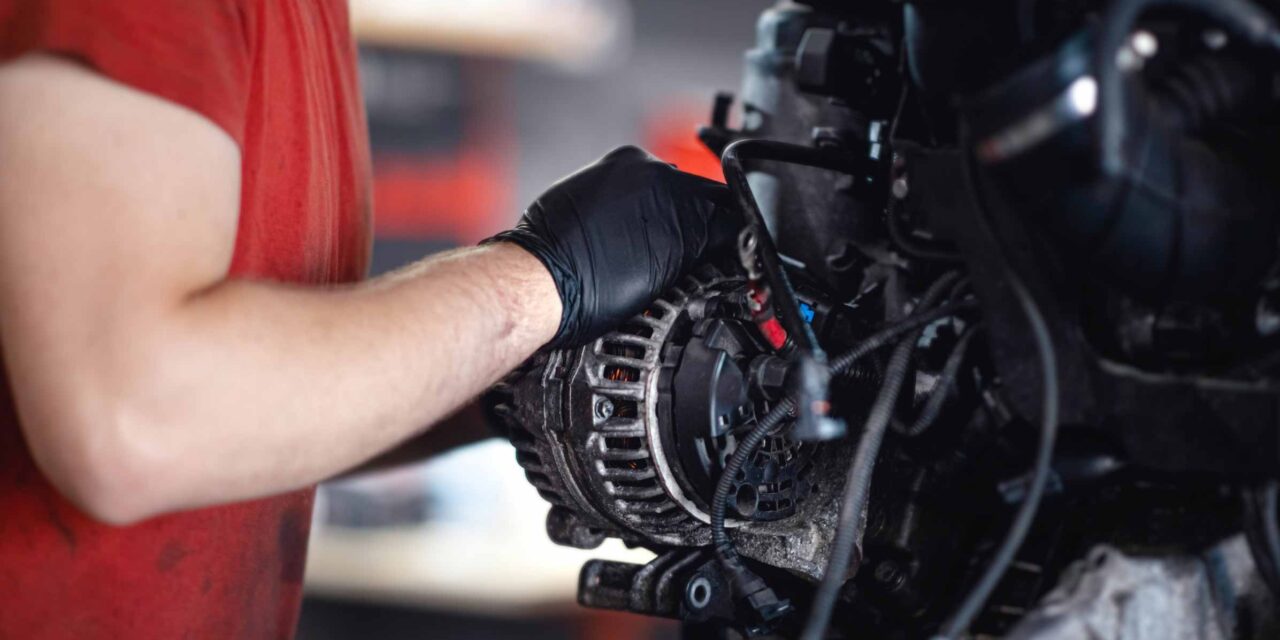
- Disconnect Wires: Unplug the connector harness and unbolt the power wire from the alternator.
- Remove Mounting Bolts: Unbolt the alternator from its bracket with the electrical connections off.
Installing the New Alternator
- Position the Alternator: Slide the new alternator into place.
- Secure with Mounting Bolts: Bolt the alternator onto the bracket. Ensure it’s firm but not overly tight.
- Reconnect Wires: Attach the power wire and clip in the connector harness.
- Position the Belt: Loop the serpentine or drive belt back onto the alternator pulley and adjust the tensioner to its correct tightness.
Testing Your Handiwork
Before celebrating, ensure your installation was a success:
- Reconnect the battery.
- Start your car. Listen for unusual sounds.
- Check dashboard lights. The battery light should not be illuminated.
- For a more precise check, use a multimeter on the battery terminals. A reading of around 14 volts indicates a functioning alternator.
Final Thoughts
Replacing an alternator can be a rewarding experience for the hands-on DIYer. Hopefully our DIY alternator replacement guide was helpful. Remember, always refer to your vehicle’s manual for model-specific instructions, and when in doubt, consult a professional.

Now retrieving an image set.
105Amp 1 Wire System GM Self-Exciting Alternator f...
$66.29 (as of July 29, 2026 15:42 GMT +00:00 - More infoProduct prices and availability are accurate as of the date/time indicated and are subject to change. Any price and availability information displayed on [relevant Amazon Site(s), as applicable] at the time of purchase will apply to the purchase of this product.)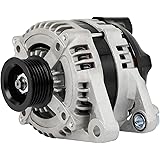
Now retrieving an image set.
SCITOO Alternator Fits for Hyundai Santa Fe 13-18,...
Now retrieving the price.
(as of July 29, 2026 15:42 GMT +00:00 - More infoProduct prices and availability are accurate as of the date/time indicated and are subject to change. Any price and availability information displayed on [relevant Amazon Site(s), as applicable] at the time of purchase will apply to the purchase of this product.)
Now retrieving an image set.
11570 New Alternator Replace for Dodge for Grand C...
$80.99 (as of July 29, 2026 15:42 GMT +00:00 - More infoProduct prices and availability are accurate as of the date/time indicated and are subject to change. Any price and availability information displayed on [relevant Amazon Site(s), as applicable] at the time of purchase will apply to the purchase of this product.)
Now retrieving an image set.
PHILTOP New Alternator 11537N Compatible with 2012...
$146.99 (as of July 29, 2026 15:42 GMT +00:00 - More infoProduct prices and availability are accurate as of the date/time indicated and are subject to change. Any price and availability information displayed on [relevant Amazon Site(s), as applicable] at the time of purchase will apply to the purchase of this product.)
Disclaimer
This guide is intended for informational purposes only. By following this guide, you accept all responsibilities for any damage or injuries that might occur. If unsure about any step, always consult with a certified automotive technician.